Art direction / Animation / Design
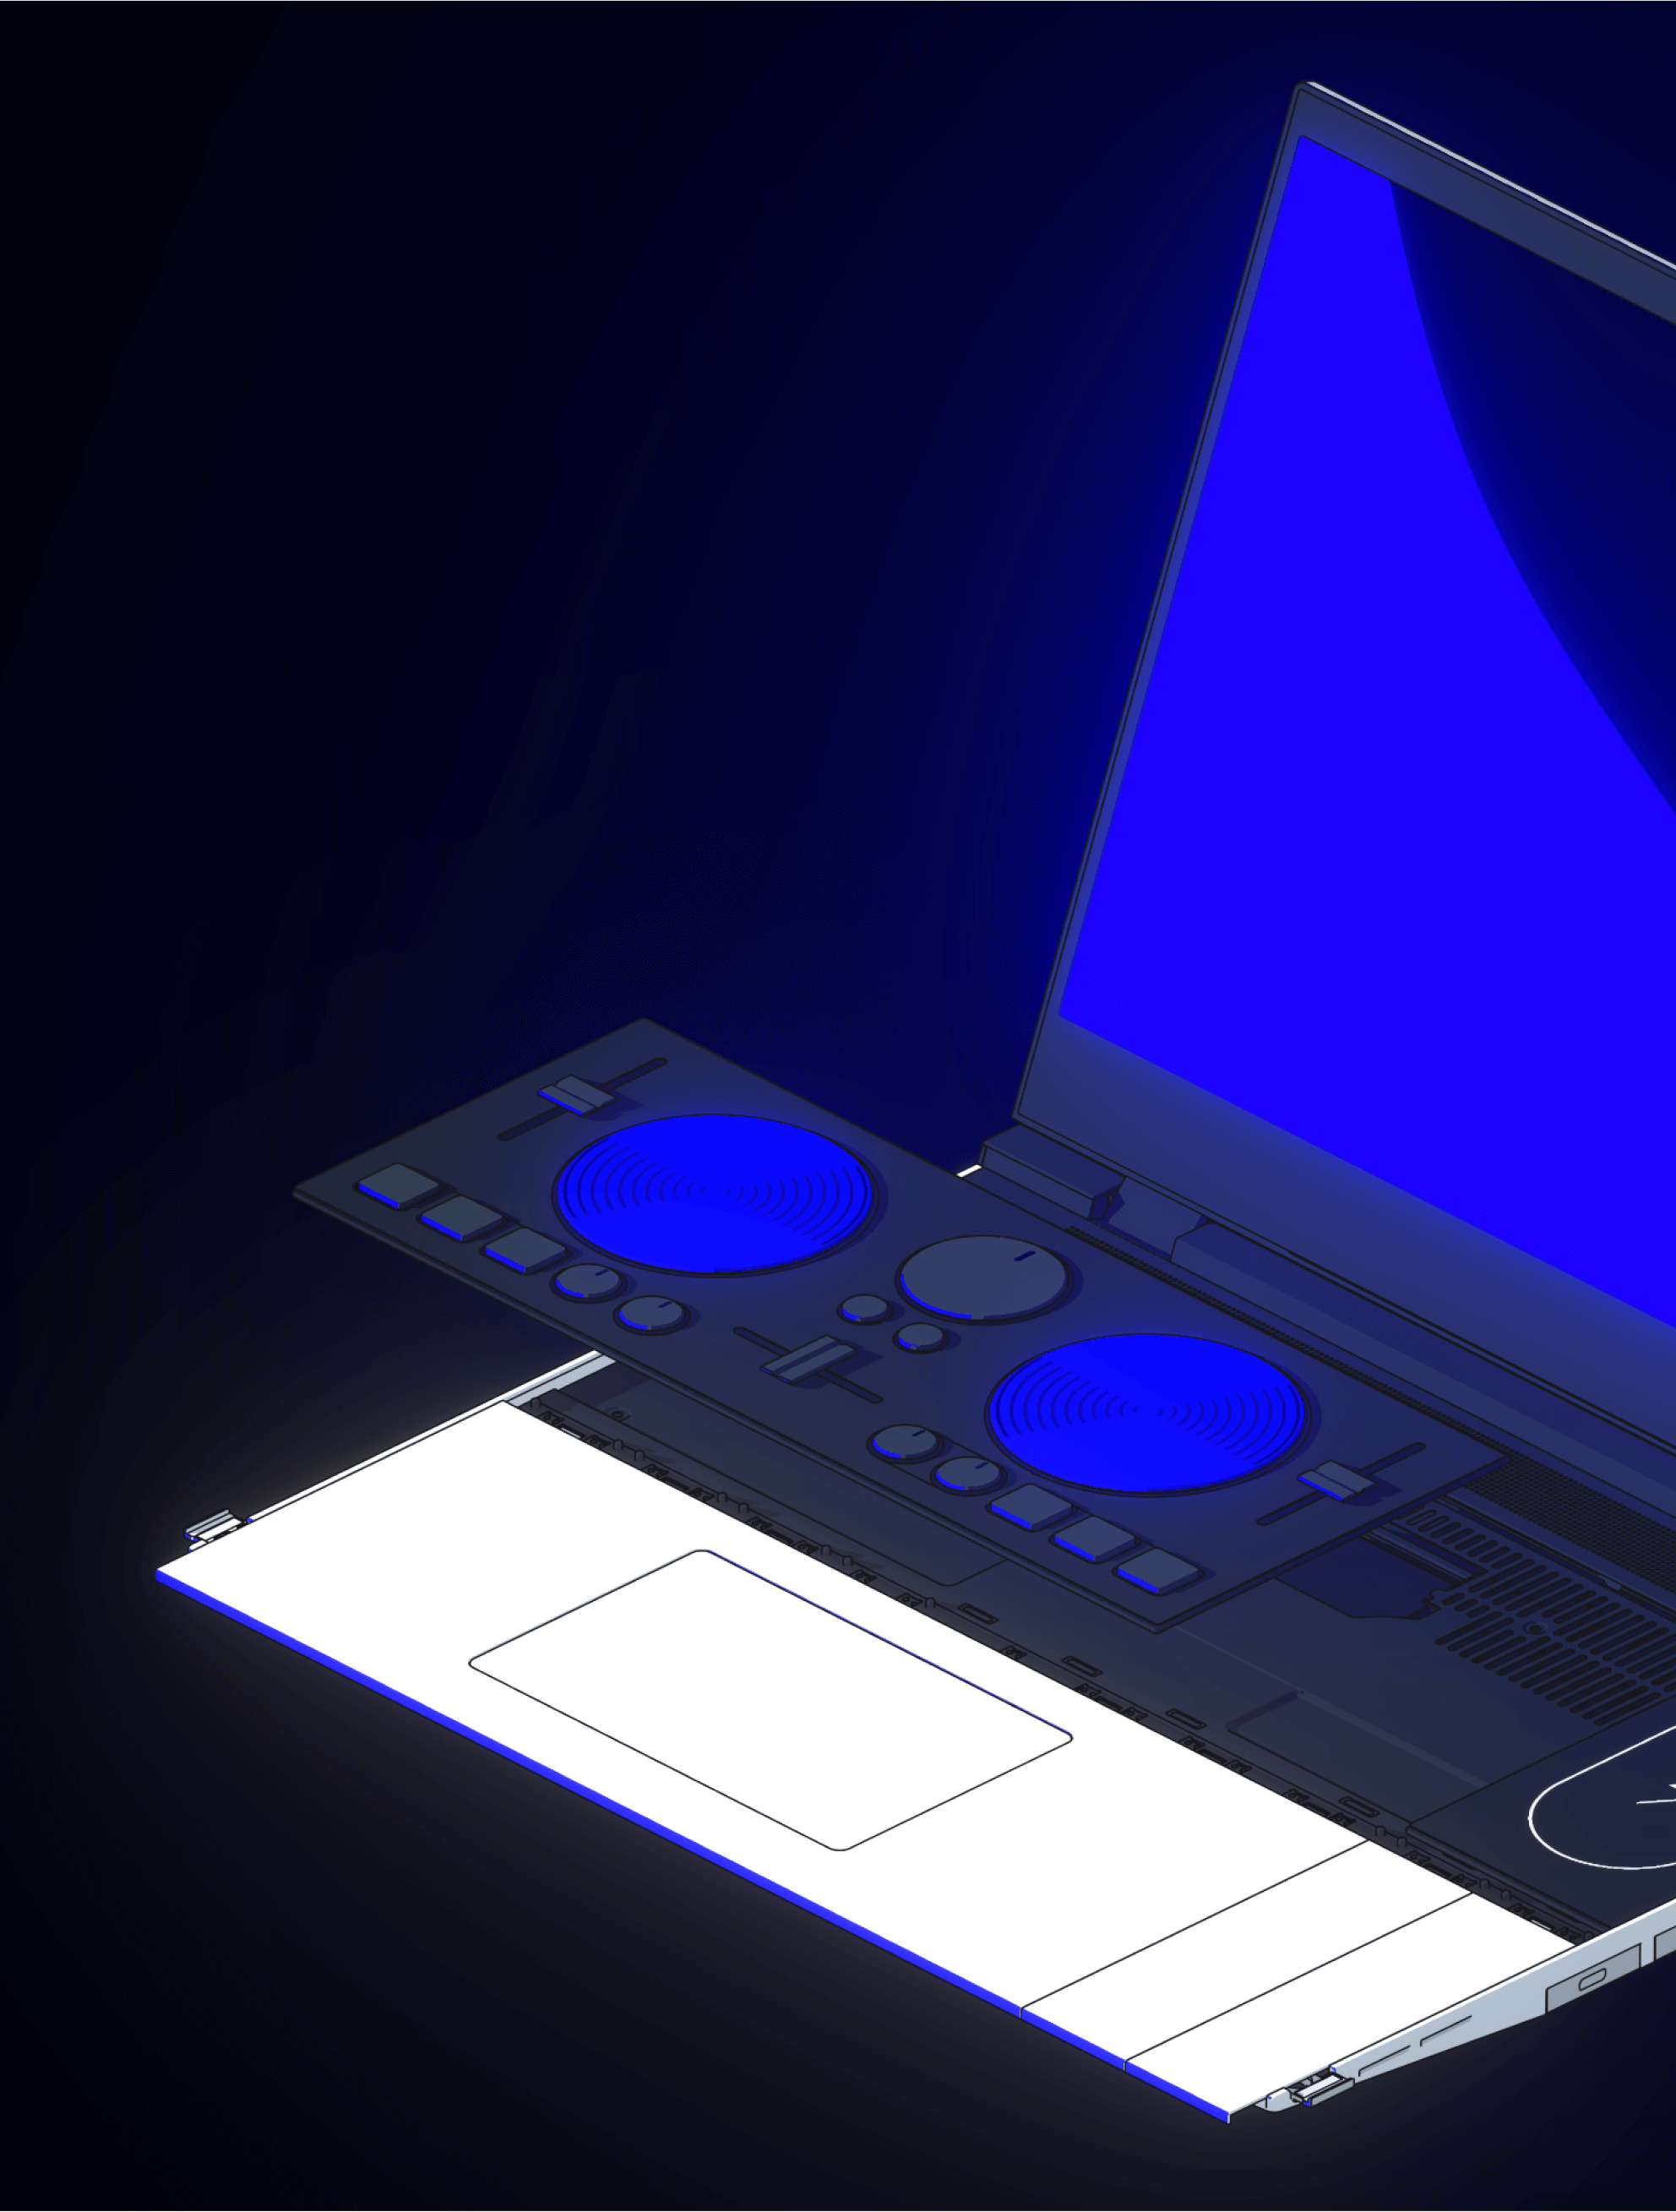
The Framework Laptop 16 is all set to revolutionize the category with an open system that allows anyone to build and swap modules easily, providing complete flexibility and sustainability in upgrading or repairing components. Our challenge was to showcase the simplicity of module swapping and highlight the endless possibilities it offers to users.
Brief
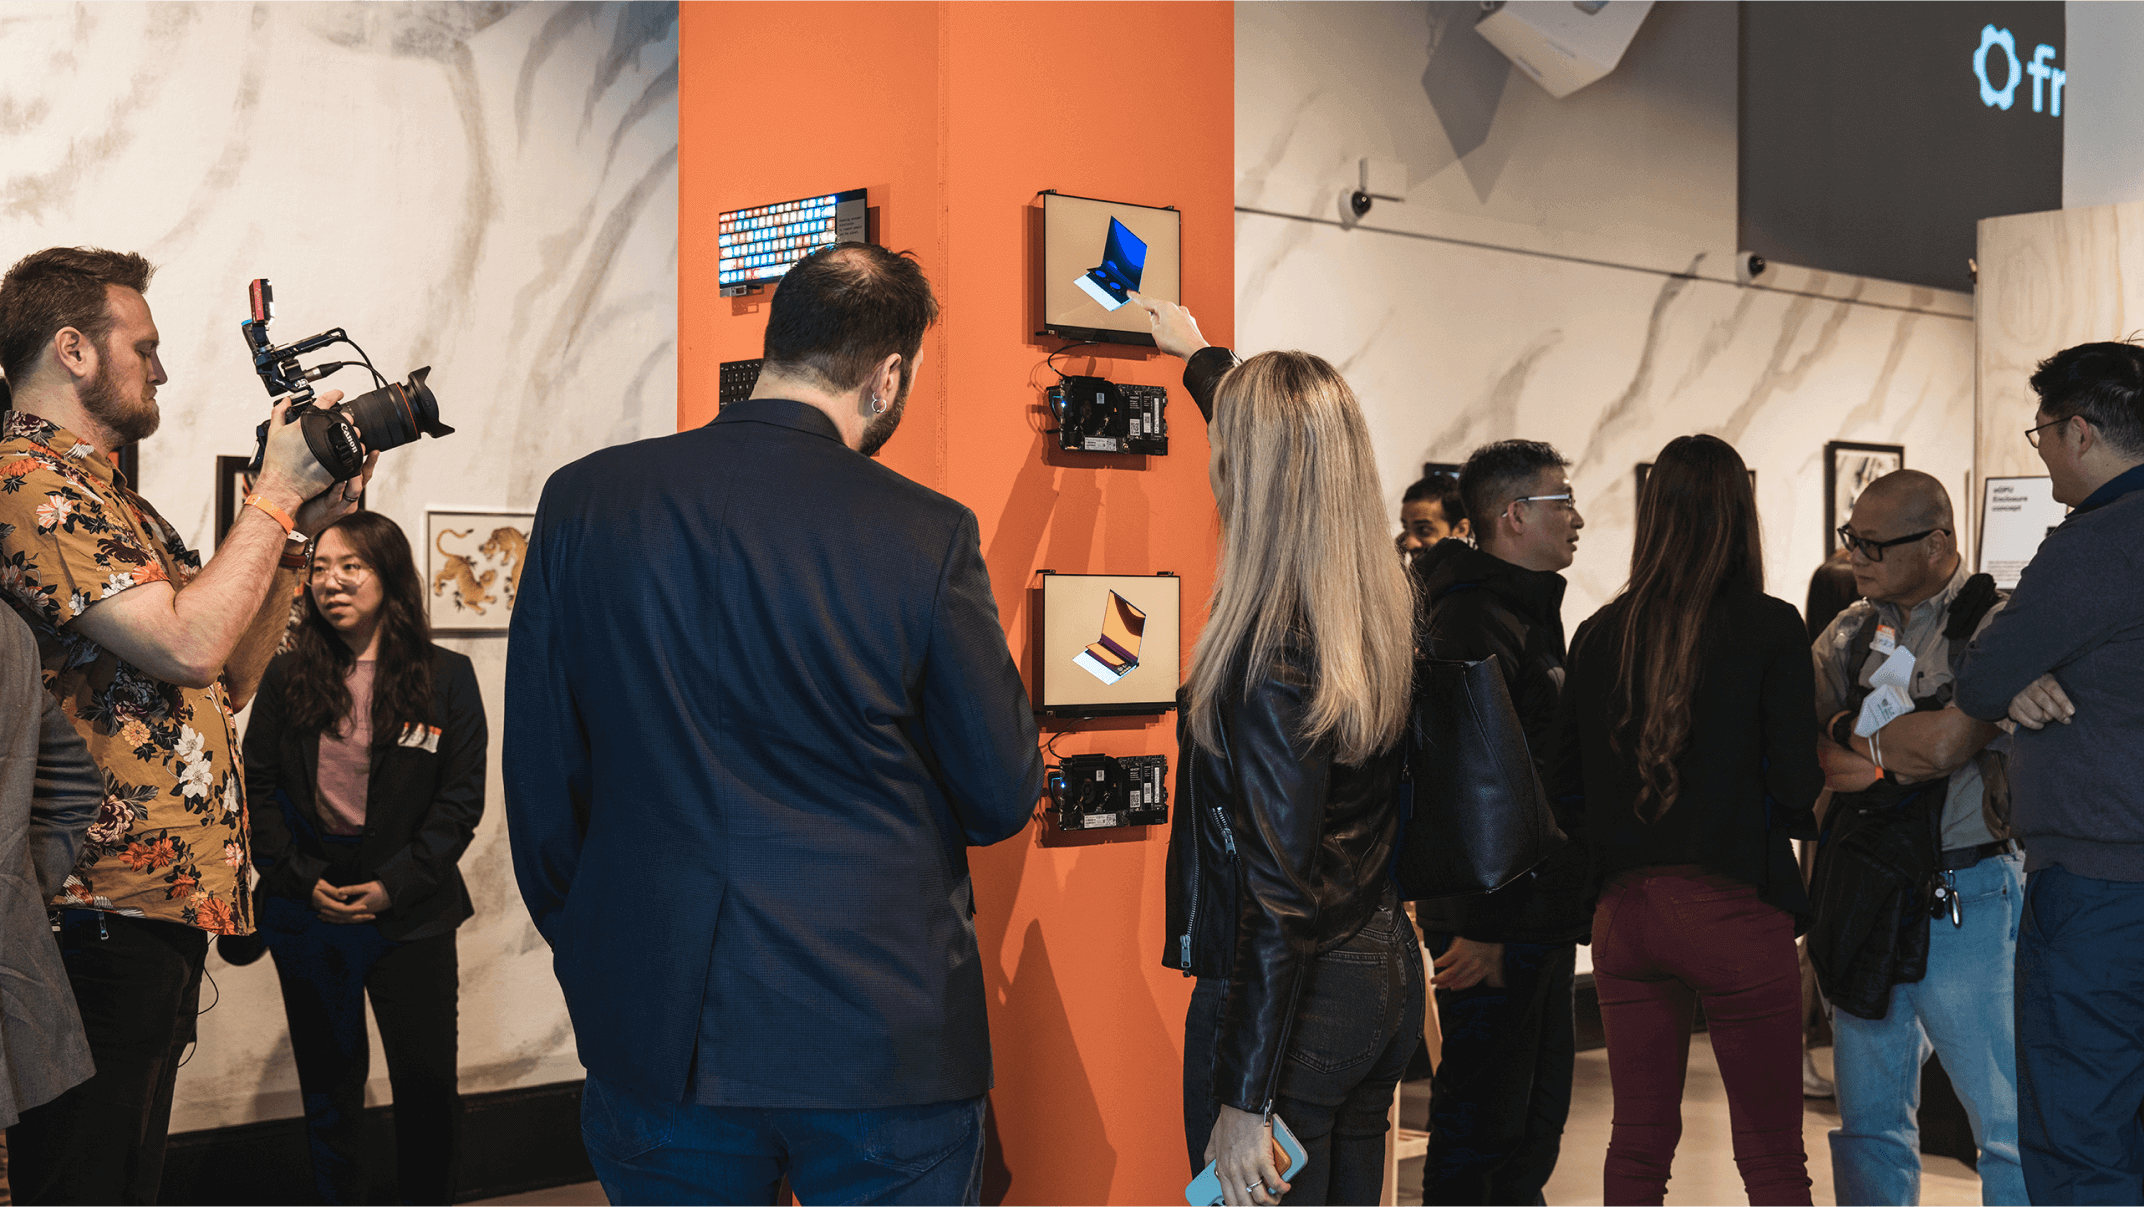
For the launch event, our team was tasked with creating an animation that would be displayed on a loop in the gallery, alongside the in-house modules and prototypes.
The look
With a working title of 'Dream Modules', our goal was to present Framework's potential in helping people and organizations truly build their own custom modules with limitless possibilities.
To achieve this goal, we decided to avoid creating realistic renders that would limit the viewer's imagination and suggest a fixed, predetermined outcome. Instead, we decided to give the animation an illustrative and magical quality. This approach allowed us to convey the technical aspects of the laptop's modular design in a clear and accessible way, while also leaving ample room for viewers to visualize their own unique module ideas.
The input panel on the Framework Laptop 16 is designed with two rows – top and bottom, each capable of accommodating three sizes of modules. Each row has its own insertion and release mechanisms. While all modules within a row use one mechanism, we needed to maintain this consistency with 15 unique modules while making the system adaptable through revisions. To achieve this, we developed a base animation for the insertion and release mechanisms using Blender. We stored these animations as actions and utilized the Non-Linear Animation (NLA) editor to structure and apply the animations to multiple objects centrally.
Display animation
To maintain a sense of continuity throughout the animation loop, we designed a display visualisation that spanned the video. Using Blender nodes allowed us to exercise complete control over the animation's speed, length, and visual aspects. For this purpose, we utilized a wave texture with black and white color that was run through the display object. By linking the wave's phase with the animation time and running a color spectrum through the white of the wave, we were able to create the fluid motion seen here.
A still from the Framework event on March 2023.